Right now, Sourdough is getting all the love. I mean, I get it- bread is DELICIOUS. And that nice, crusty loaf is perfectly instagram-able.
But what about those other lovely fermented foods out there? Kraut, kimchi, kombucha….. Those can be lovely too! and I’m here to argue that they, too, can be instagram-able. And accessible to YOU!
What does fermenting mean?
Fermenting uses microorganisms instead of heat to preserve food, and it’s highly nutritious and SUPER tasty. Plus I find a little goes a long way. When fermenting, you’re using salt to pull fluids out of the veggies. The bacterias we want are salt-tolerable, so you’re not killing those by using salt, you’re actually drawing them out.
Fermentation and the science behind it is long and fascinating. I’m here to get you going down a path towards making your own fermented foods and incorporating them into your breakfasts, lunches, and dinners (yes, even breakfast!). If you’d like to dig in deeper to the true art of fermentation, there is an awesome book list you can check out at the end of this post.
You might wonder- is pickling the same as fermenting? I say “same, same, but different” because the processes are similar, but in pickling you use vinegar, and when it comes to your health- it’s MUCH different. We’re not talking pickling today, we’ll save that for another day.
And while yes, my love for Kombucha runs deep, and it is a fermented beverage, we are going to focus on direct-salt application recipes today. Kombucha ferments with sugar, and as a self-designated Kombucha Coach, I’m working on a future post all about the ‘booch.
For today, we’re going to start with a Kraut and a Kimchi. Both have many regional variations and traditional family recipes that vary widely. Even seasonal variations! I invite you to explore this rich cultural history of fermentation! The recipes I’ve included today are just a simple sampling to get you started on your fermentation journey.
Why fermented foods?
In our bodies, our guts carry all kinds of bacterias. You may have heard of “good” and “bad” bacterias, but that’s an oversimplified way to look at it. What’s more important is the balance and relationship of those bacterias in your gut, and that looks different for every person.
The nutritious benefits we receive from fermented foods, aren’t just happening naturally. We need to actively consume fermented foods in order to get the benefits. Luckily, fermented foods can fit naturally into all meals of the day. I love some spicy kimchi with scrambled eggs for breakfast. Kraut adds a delicious crunch to any sandwich. And both can be used as a side dish with dinners, mixed into fried rice or noodle dishes.
Also- if you’re a gardener, fermenting foods is a great way to preserve your harvests when you have an abundance (or even those veggies in the back of the fridge drawer that you haven’t quite gotten around to using). You can also can your fermented foods using the water-bath canning method for longer shelf-stable storage.
How can I start adding fermented foods into my life?
Ok, so are you ready to start these new kitchen experiments? On the scale of Do-It-Yourself projects, I think fermentation falls on the easier side. And if you’ve already tackled, and succeeded, with Sourdough Bread, then you’ll find this a piece of cake.
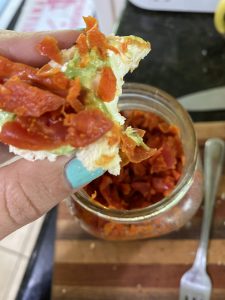
Fermented foods have a strong taste, so finding the tastiest ways to incorporate them into your daily meals can be really fun! Both the Golden Kraut and Kimchi make great toppers for avocado toast. And they can be side dishes or even a filling snack completely on their own or with a few crackers!
The Recipes below are a great starting point! They aren’t too fussy and use similar ingredients that you hopefully have on hand, or can access easily. The jars and materials you use should be clean, but they don’t have to be sterile. Fermentation picks up the wild yeasts in the environment, so just keep your workspace and materials clean.
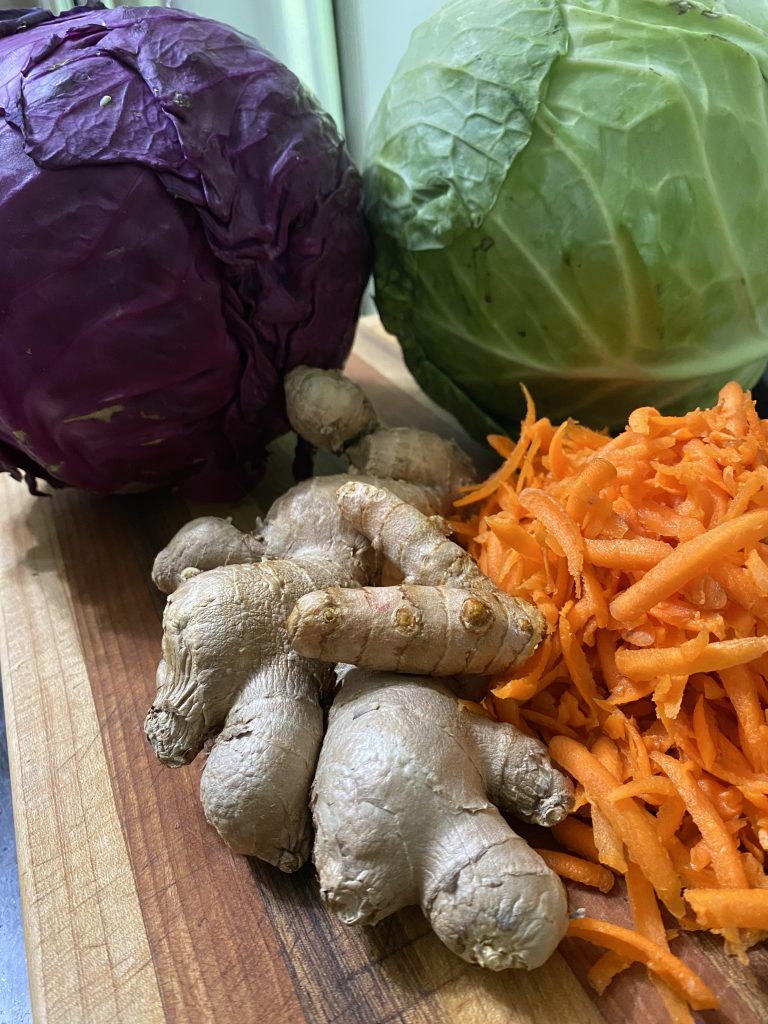
The most time consuming part is just the chopping of ingredients, which I speed up by using the Slicer/Shredder attachment on my Kitchen Aid Stand Mixer.
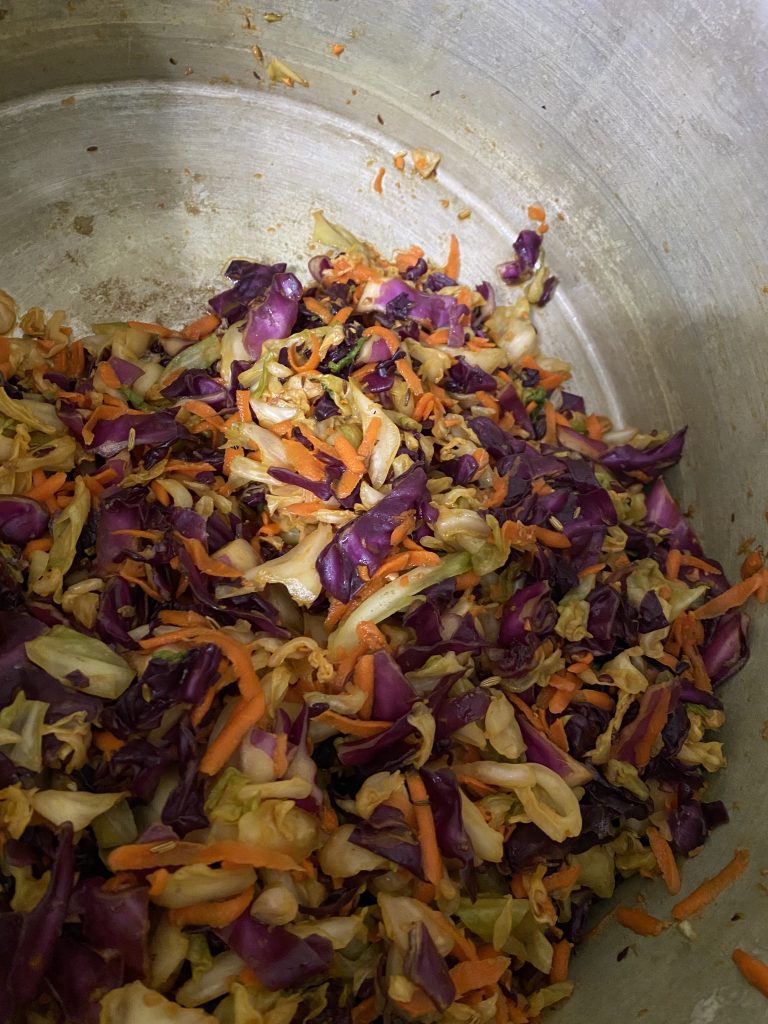
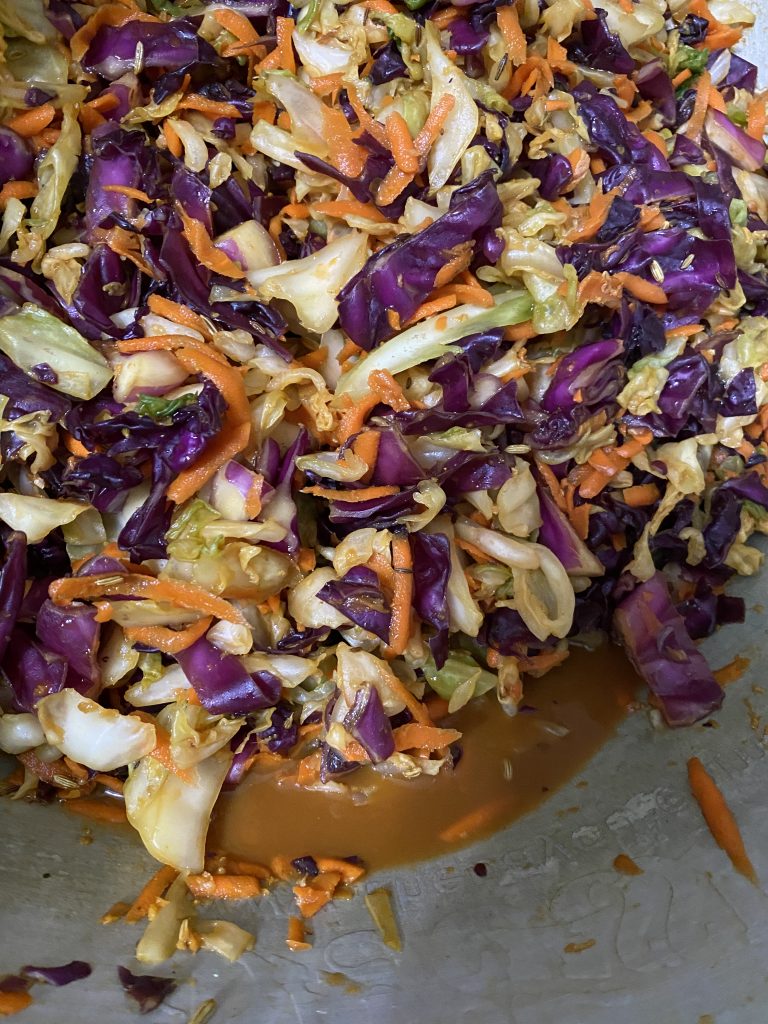
Besides the time it takes to prep the ingredients, most of the “cook time” is spent massaging the ingredients- that’s right, these veggies are getting the royal treatment! Massage and massage the mixtures, making sure you’re thoroughly squeezing each little piece and distributing the salt around the mixture. The more you massage, the more of that golden delicious juicy brine will appear. You can wear gloves during this part to avoid yellow hands and lingering spice which can be irritating to the skin.
And in the case that you find your veggies aren’t releasing enough of their own juices, first, I recommend that you KEEP MASSAGING. It does take a while, so turn on your favorite tunes and get to work on that cabbage! But you can also sub in some of this homemade brine recipe below to help.
*Basic Brine Recipe: 1 Tablespoon of salt per 1 cup of water (boil together to dissolve, let cool before using)
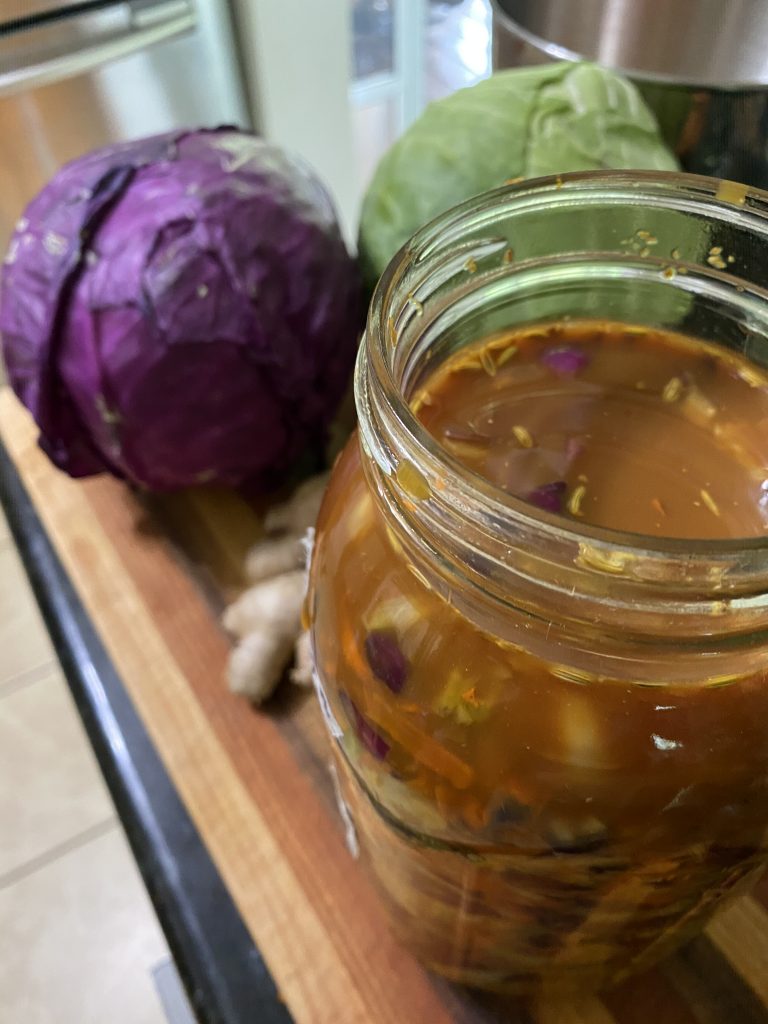
Then you’re ready to pack the ingredients into your jars. Make sure to really pack them in there tightly, working to expel as much air as possible. I use a “muddler” to really pack the mixture into the jar. And then don’t open the jars more than you have to. Just loosen slightly to “burp” the jars and open every couple days to check that ingredients are submerged.
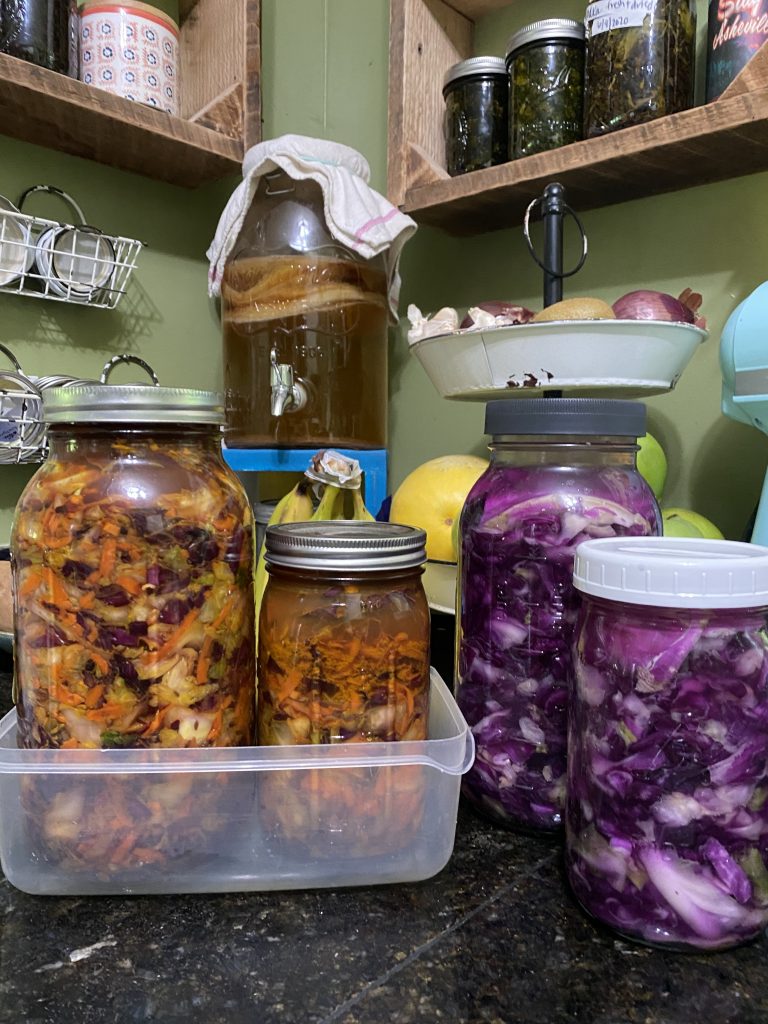
Then comes the wait. Your mixtures will need time to ferment, building up those healthy bacterias and creating the tasty flavors you’ll love. So put them in a spot out of the way where they can sit undisturbed, hence my “Fermentation Station” you can see in the first photo. I recommend placing them on a plate or in a shallow container because they will often “leak” a little and you’ll want to catch that in a container rather than running all over your counter.
Throughout the fermentation process you’ll want to taste-test your recipes to make sure they are to your liking. You’ll notice they’ll start to lose their “salty edge” as I call it, and begin taking on more flavor day after day. Once they are to your liking, just pop them in the fridge to stop the fermentation process. Some claim a kimchi can never “go bad”, but I’d stick with up-to-a-year in the fridge as a rule of thumb for expiration. But I can’t imagine it will stick around that long…
You’ll need a few basic supplies on hand:
-glass jars (Ball or Kerr canning jars are great)
-canning lids for your jars
-ingredients for your recipe (see recipes below)
-salt (high quality sea salt, Celtic sea salt is best!)
A couple notes to watch out for:
*Don’t use salt with added iodine, and no pickling salt. Look for and use fine, high quality salt.
*When using any water for brine, use non-chlorinated water. You can achieve this by bringing water to boil for 3 minutes, or even just letting a pot of water sit for 24 hours.
*Only ferment in glass, not plastic.


 The Art of Fermentation: An In-Depth Exploration of Essential Concepts and Processes from around the World by Sandor Ellix Katz and Michael Pollanhttps://www.firestorm.coop/products/3080-the-art-of-fermentation.html
 Fermented Vegetables: Creative Recipes for Fermenting 64 Vegetables & Herbs in Krauts, Kimchis, Brined Pickles, Chutneys, Relishes & Pastes by Christopher Shockey and Kirsten K. Shockeyhttps://www.firestorm.coop/products/6949-fermented-vegetables.html
 Wild Fermentation: The Flavor, Nutrition, and Craft of Live-Culture Foods, 2nd Edition by Sandor Ellix Katz and Sally Fallon Morellhttps://www.firestorm.coop/products/7327-wild-fermentation.html