You’ve put in all the hard work to grow these plants: you’ve cuddled and coddled them, watered and fed them, and you’ve reaped the big rewards- fresh harvests all summer long! But…what comes next?
When I began gardening 6 years ago, I used to think the bountiful harvests were what gardening was all about. I enjoyed all the fresh produce and the colorful bouquets, and the minute my plants started looking brown and droopy- I ripped them out of the garden. <GASP!>
I only gasp now, because I’ve since learned that a plant’s life cycle doesn’t have to end after the last juicy tomato is pulled, or the last fresh pink flower has been tucked away into a vase.
I have learned that the next step in the plant’s life cycle is providing me with the opportunity to honor the plant’s legacy, and to respect it’s precious creations- the seeds! Not only did I learn a deeper respect for my plant friends, but I got a head start on next year’s garden.
I shared a bit about seed-saving on our Instagram account and we received lots of great questions! So I gathered them here to create an introduction to Seed-Saving, just for you!
What seeds are you saving at the Forage + Salvage urban homestead this year?
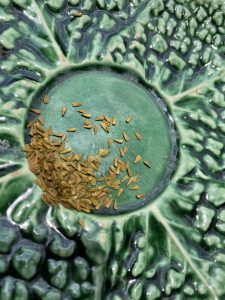
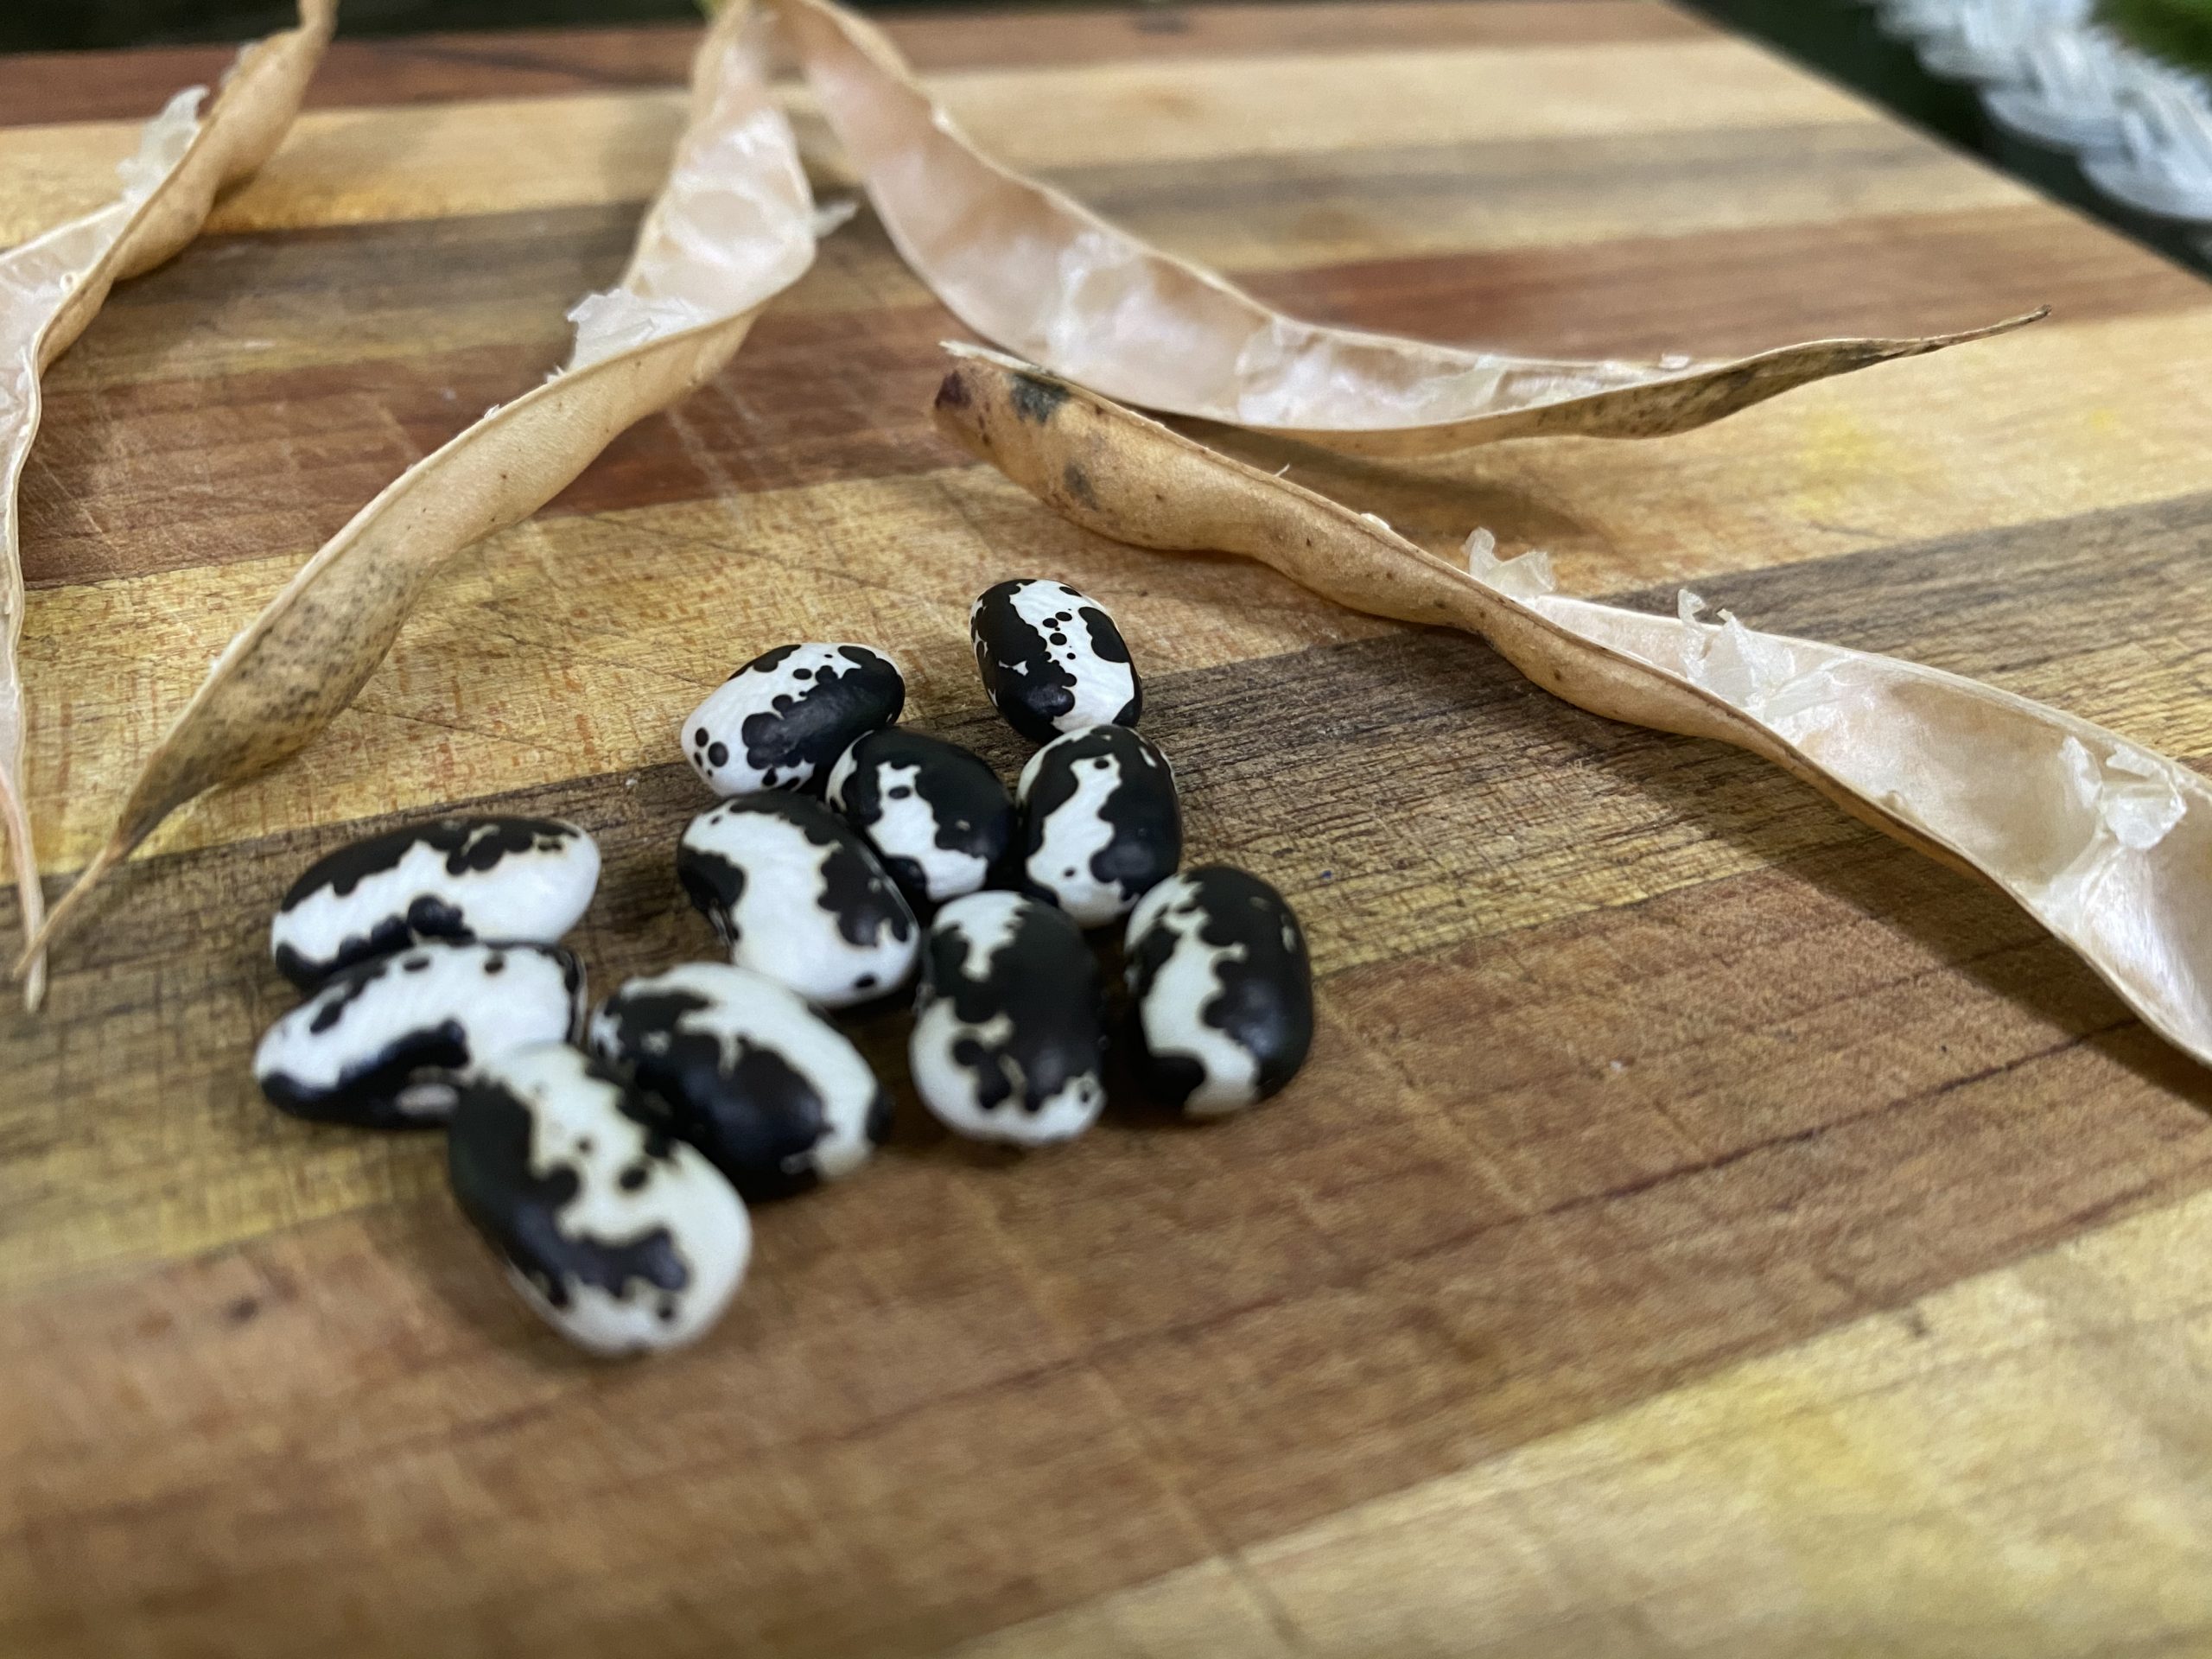
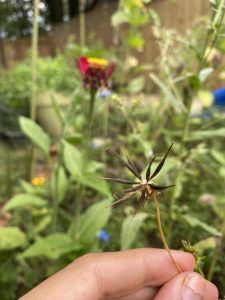
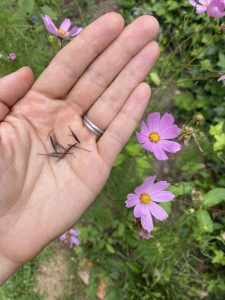
This year, I’m so excited to be saving seeds from our newly expanded medicinal herb garden. First to go to seed for me, was my Valerian plant. This plant grew over 6.5 feet tall this year, and the fragrant, beautiful blooms provided so many seeds. One of my favorite parts of saving seeds is seeing the variety of ways plants make and share their seeds. The valerian seeds are small, delicate seeds- similar to carrot seeds- and they are attached to a tiny “fluff umbrella”, as I called it. In a wild environment, this little bit of fluff catches on the wind, and helps to carry the Valerian seeds across the landscape so that it can re-seed itself and flourish.
By saving the seeds from this Valerian plant, I’ll be able to propagate more of this helpful medicinal plant in my garden, creating more beautiful medicine. Valerian is a wonderful nervine and plays an important role in our Sleeptytime Tincture! I also hope to possibly share some of these special seeds with our Herbal Subscription Box subscribers!
Why should I save seeds?
Saving seeds is a great practice for home gardeners. Not only does this practice save you time and money, but you’ll develop a deeper relationship with the plants. Think about the time you’ll save not flipping through seed catalogue. And the money you’ll save from not having to start from scratch and purchase new seeds all over again. Plus, you can ensure that you’ll have your favorite crops year to year, regardless of what seed shops have in stock.
You’ll also be creating a low-waste, full-circle garden: a garden that replenishes itself, and provides year after year.
What seeds should I save?
Your own garden is the perfect place to start, but you can even save seeds from produce that you love that you purchased at a farmers market. One year I purchased a gorgeous heirloom pumpkin from a Farmer. It was delicious, beautiful and it was full of seeds, so I kept those to propagate in my garden for the following year!
Some of the easiest seeds to save come from wildflowers, sunflowers, okra, beans, greens, watermelon, squash, peppers, tomatoes and cucumbers. Some of the more difficult seeds to save include carrots, beets, swiss chard, corn, broccoli, and spinach, so I wouldn’t recommend starting with those.
Heirloom and open-pollinated varieties of plants are the best from which to save seeds and will ensure the variety sticks around year to year. You can find out if your plant is heirloom or open-pollinated by checking the seed packets you’ve purchased, or by looking them up online. You’ll also want to think about saving seeds from the plants you use a lot, and especially from varieties you just love or that have been successful in your garden.
How do I save seeds from my garden?
This is where you’ll learn to watch the plant closely- they all go to seed differently. Use this as a time to connect deeply with the full cycle of the plant. You’ll be well aware of when the plant blooms or sets fruit. But then keep a close eye on it as it begins to end its production, and focuses its energy on seed production. Often this may look like a plant turning brown, dry, and perhaps droopy.
You may have to let the plant stay in your garden for longer than you planned if you’d like to collect the seeds. This could be tough if you’re tight on space and need to transition to a fall garden. But keep in mind that you don’t have to leave all of the plants to go to seed. Collecting from just one plant should give you
plenty of seeds to use next season. Once you notice a plant is setting seed you can begin backing off watering it so that it continues to dry and create the seed.
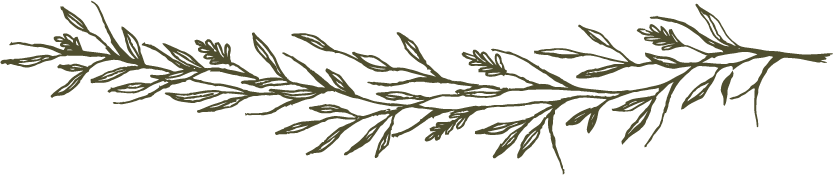
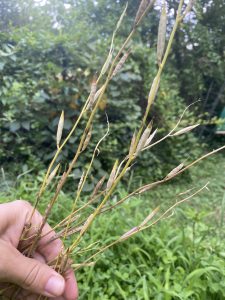
For some plants, you will be able to collect the seeds while out in the garden. Examples include wildflowers, and any plants that form pods that hold their seeds (arugula, beans, radishes). Collect these seeds or pods on a dry day, and only from strong, vibrant plants- this will ensure viable seeds, and keep the genetics of strong plants going. You won’t want to collect seeds from diseased or weak plants that didn’t do well this past growing season.
For tomatoes/peppers/squashes you’ll need to separate the seeds from the flesh of the actual vegetable! You won’t be waiting for the plant to turn brown and dry in this case. So you’ll need to harvest the fruit first, and then separate the seeds in the kitchen. Keep reading for more specific instructions on saving seeds from tomatoes.
Some plants need to be overripe in order to harvest the seeds. Allow squashes, zucchinis, and cucumbers to stay on the vines until they are past the edible stage, and then age another week or two on a shelf before harvesting the seeds.
After collecting any seeds, make sure the seeds are fully clear from any “chaff”, which is any other plant material (husks, casings, etc.) that might be near the seed that could easily rot or mold. Lay them out on paper towel for 18-24 hours to let them fully dry to avoid mold before storing them away. I use white thin dish towels for this part of the process, and I’ve also used paper towels in the past.
When using paper towels, you can re-use them many times for various seeds as long as they remain clean and dry.
Large seeds (sunflower seeds, beans, peas) benefit from spending a week in the freezer after they are completely dry and before going into long-term storage. This kills off any insects that might’ve snuck in there.
Keep reading for specific instructions on how to save seeds from Sunflowers and Tomatoes.
How should I store my saved seeds?
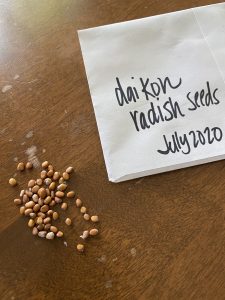
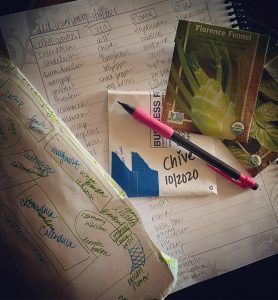
Most important to remember is that seeds must be thoroughly dry before storing. A DIY envelope, or a re-purposed junk mail envelope work well. Fancy seed organizers are also an option and can make the process a little quicker.
Some gardeners prefer to alphabetize their seeds in shoe box, however I prefer to organize my seed packets in baggies by planting season and type, ie: flowers, herbs, direct seed, spring seeds, fall seeds. Keep in mind the longer seeds are stored, their viability goes down. So unless you plan to share the seeds with others, you don’t need to go overboard collecting all the seeds your garden produces.
You’ll want to keep your seeds in a cool, dark place, free from moisture- even in the freezer! But a garage, or basement will work too, as long as there aren’t extreme changes in temperature or moisture.
Not sure how long to store your seeds? When it comes time to start your next round of seedlings, you can always test their viability with a germination test. Just dampen a paper towel (or dish cloth), place 5 seeds in side and fold the towel in half. Put that cloth in a sealed baggie or tupperware. A germination rate of over 80% proves that your seeds are still viable, and at 50% your seeds might not turn into strong seedlings. If your germination test proves that your seeds have lost a bit of vigor, you can still use them- just over plant your seedlings to ensure you get some plants.
At the end of the day, saving seeds is a rewarding and worthwhile endeavor. To me it almost feels like a second harvest! And I enjoy knowing that I can recycle what this plant has given me, and save money too!
I’m so excited for you to give this a try. What plants are you excited to recycle in your garden next year? And what was most helpful for you? Leave a comment below, or tag us in your seed-saving adventures on Instagram!
Examples of Seed-Saving for Specific Plants:
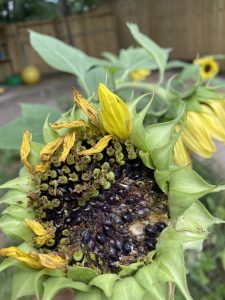
Sunflower Seeds: You’ll know the plant is ready for seed-collecting when the leaves turn brown and the flower head begins to droop. You’ll be able to brush the flowers away and see the big seeds underneath. One common issue with gathering Sunflowers seeds is that they tend to mold, especially in humid climates, or get eaten by the birds! To combat this issue, you can cut off the sunflower heads and hang them upside down under a roof, in the attic or in a garage. This will allow them extra time to dry out. You can place a paper bag loosely over the heads to catch the seeds as they tend to fall out as the heads dry out. Don’t use plastic bags as this won’t allow the air to circulate and the heads to dry out. If you’re extra worried about moisture, you can lay the seeds out on a towel or drying rack and let them sit for 24-48 hours before storing them in a jar.
Tomatoes: Tomatoes can be tricky because you’ll need to ferment the seeds first (this is the same with cucumbers too!) While using/cooking tomatoes, squeeze out “the guts” into a separate container, and then continue using the flesh in your recipe. Add a bit of water (enough to double the amount) to the container of gelatinous material and seeds, and put in a warm spot- like the top of your refrigerator. A light coating of mold will form on the surface of the water- that is OK! Let sit 1-3 days, but not more than 3. You can stir once a day. Once you gently stir, and you notice the seeds fall to the bottom, they are ready. When this happens, you’ll want to remove the top layer of mold and pour out the water leaving your seeds in the container. Add fresh water to your seeds and swish around until they look clean, or use a fine mesh sieve to rinse in cold water. Then lay them out on a plate to dry.
8 Steps to Plan Your Garden from Seed
Not sure how to start a garden from seeds? Here’s 8 steps to get you started on your journey.
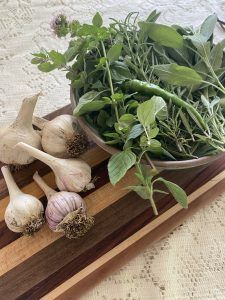
How to grow your own garlic!
learn all the basics you’ll need to grow your own garlic at home!
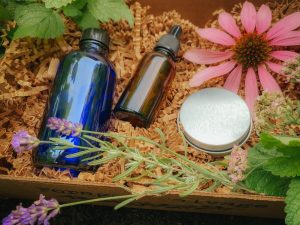
What is the Herbal Subscription Box?
Heads up: If you’re looking for all the nitty-gritty details of the subscription, click here. This blog is a bit of insight into what this subscription is at it’s heart… ———— When I began my journey into discovering herbs, I knew immediately that I wanted to share all the plant magic I could with others.