
Not sure where to begin? Here’s 8 steps to get you on your way with starting seeds!
So it’s still cold out.
And we’ve seen the most snow this year in Asheville since moving here! Which is always pretty, but…
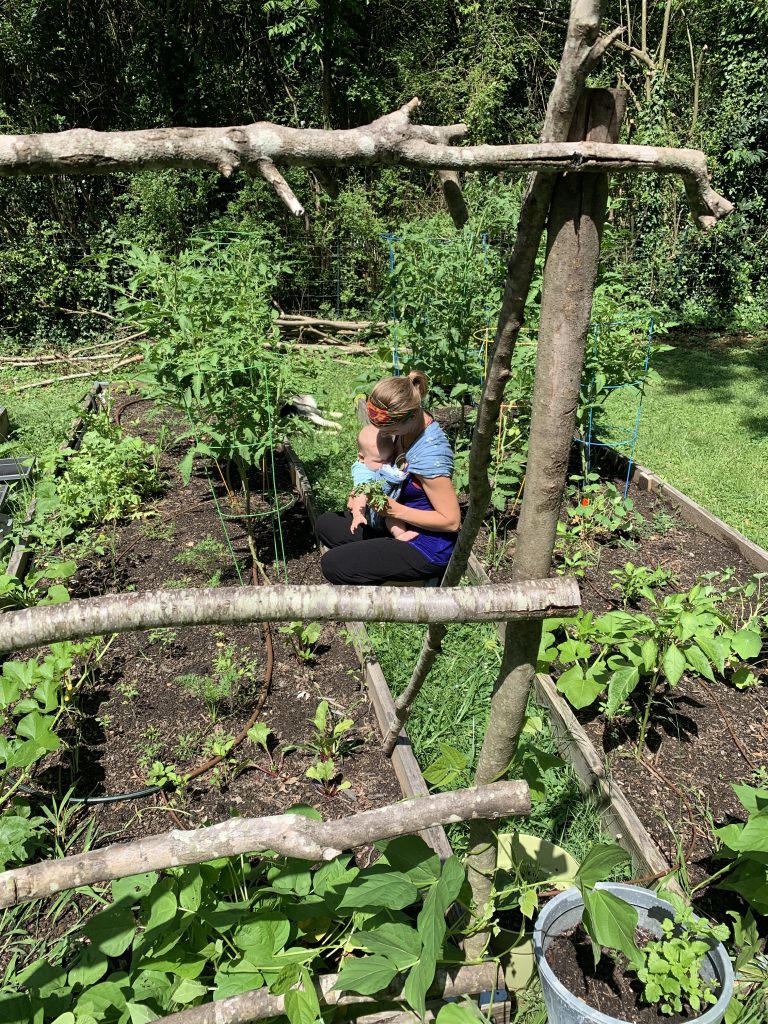
I’m definitely itching for spring! We had two days of weather in the 60’s last week, and I could just feel those sunny springtime vibes! I’ve started prepping for spring as a way to get excited for a new growing season and to make sure I’m prepared.
I started gardening back in 2015, and in these 6 years, I’ve developed a planning “system” that works for me. I’m sharing here in case you’re just not sure where to start!
8 Steps to Start from Seed
- I read over my notes from the previous year. I like to keep notes in a separate notebook or in my planner, I’ve done both. But it’s nice to look back and see what gave me a good harvest, what seeds didn’t germinate, and what we did or didn’t grow the previous year, and where I planted what. I suggest writing these down as you garden because you’ll always forget! You think you’ll remember… trust me, you won’t. And if you don’t have notes from last year- that’s OK! Move on to #2!
- Goal setting and dreaming! Now’s the time to dream a little- what would you like to try this year? A whole new crop? A new variety? Or maybe you’re adding flowers or you’d like to try companion gardening? Whatever it is, write it down, do a little research, look at pictures of your dream gardens, watch some youtube videos- whatever it is that helps you get some inspiration. And write all of these goals down!
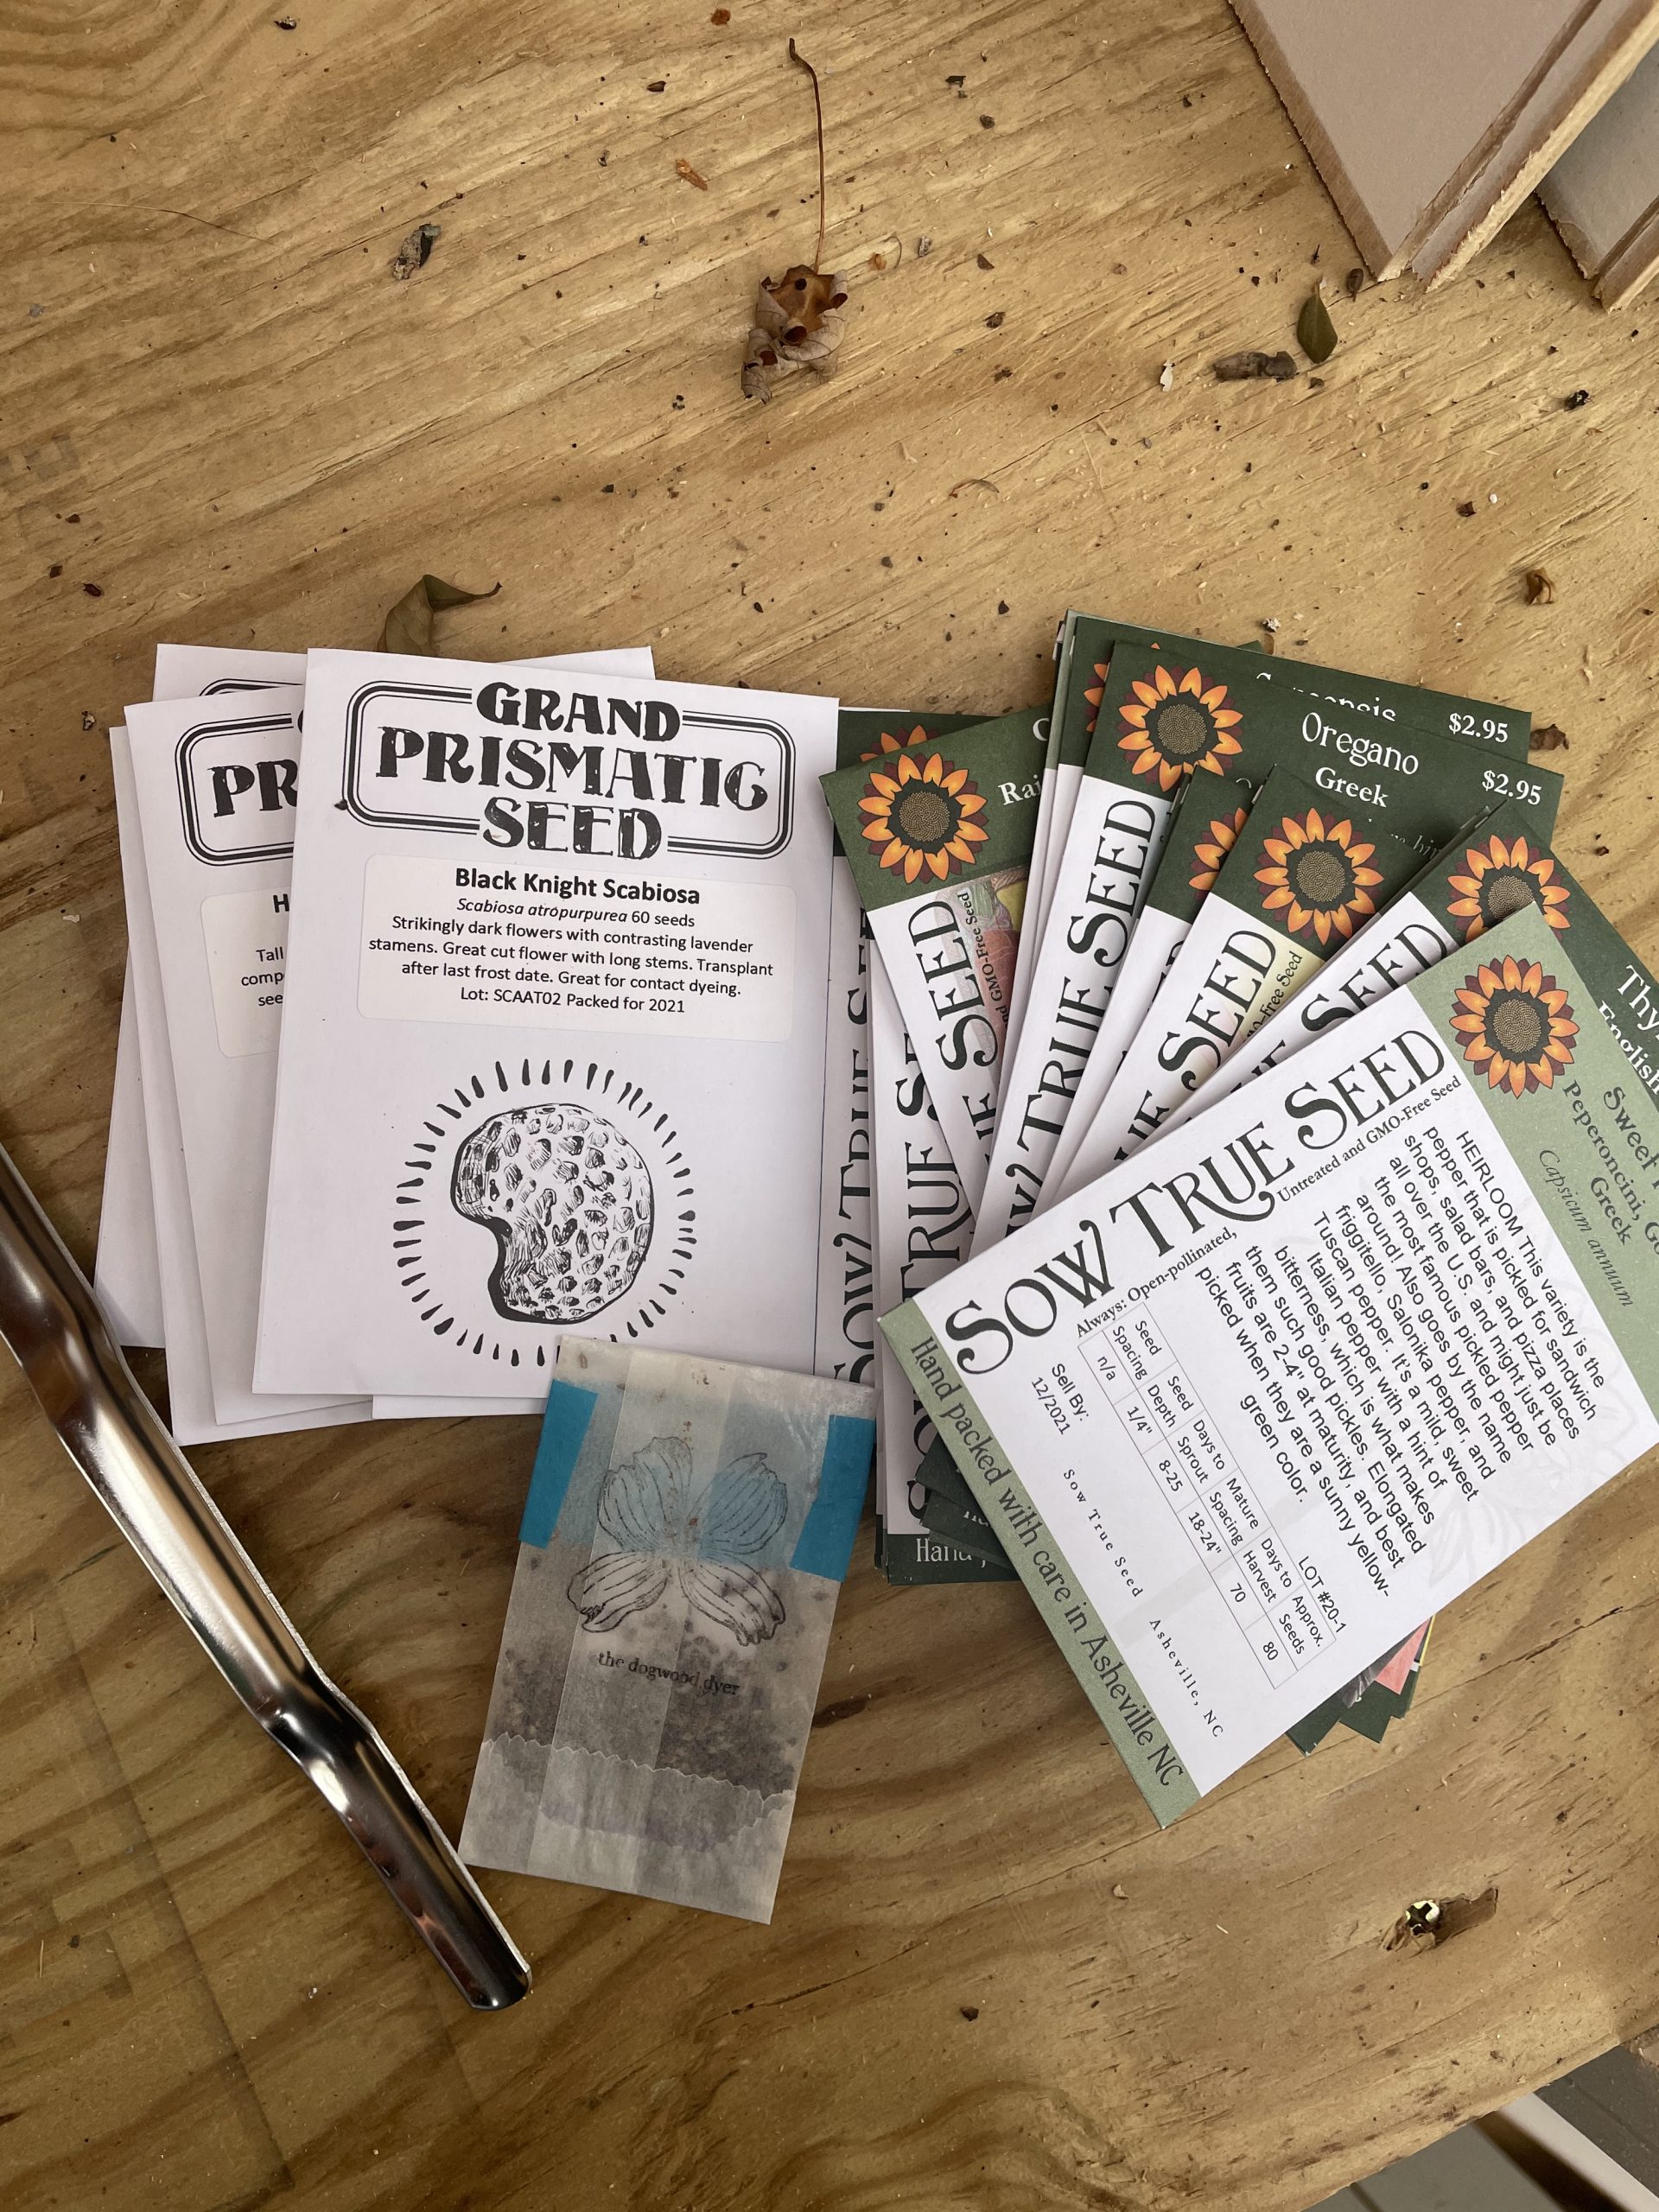
- Inventory your seeds. What do you have left over from last year? What worked well and what didn’t? Are there any that are expired that need to be thrown out? What crops are you missing? What new varieties would you like to try? Then I make a chart of what I have using categories that work for me. For example I list what Herbs, Veggies, Flowers I have. Then I can write down what I need. Don’t have seeds from last year? That’s OK! Move one to step #4!
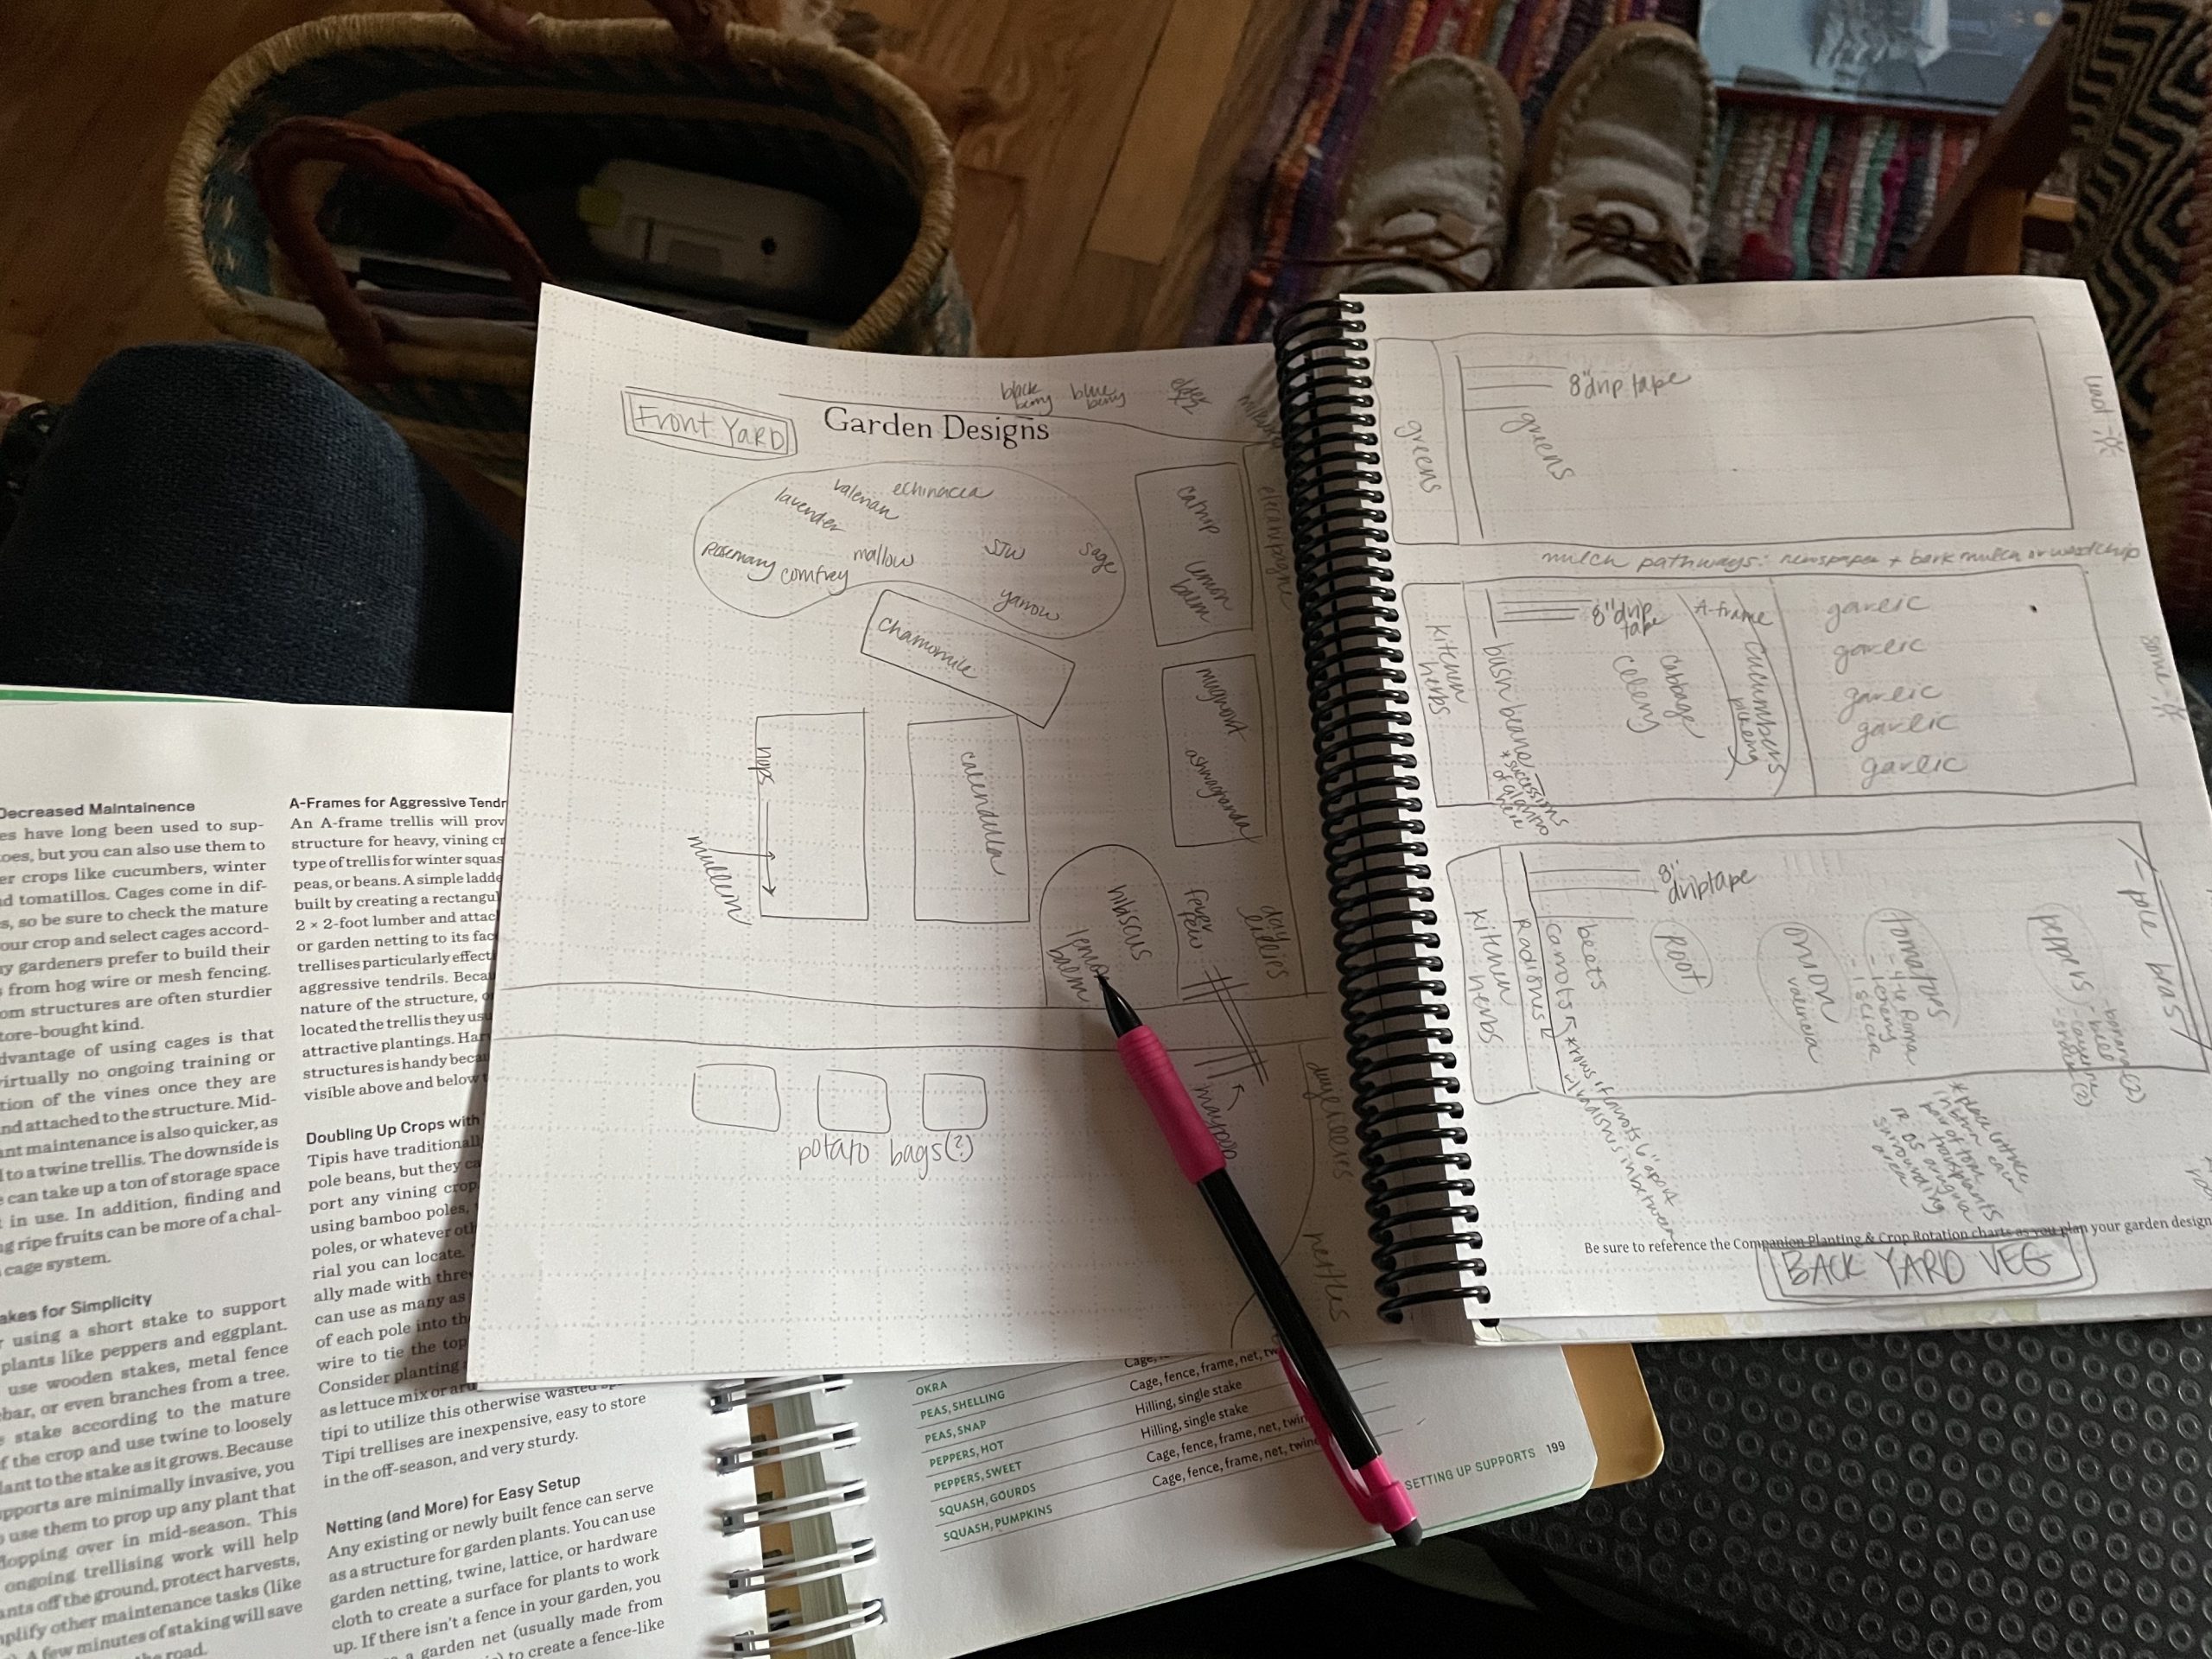
- Map out your space. BEFORE you order those seeds, map out your space! And be realistic. You’re likely going to over order, it just happens because you get excited. But try to be realistic about the space you have, and the space the plants will need to grow and thrive. Here’s where you can consider your sunlight, companion planting, and crop rotation.
- Order those seeds! Get your order in early to allow time for shipping and to make sure the seeds you need aren’t sold out! Another idea is to seed swap with others. You can find gardening friends on Instagram, Facebook, NextDoor. Try posting a Seed Swap ad to see if others in your area are interested! It’s a great low-waste way to diversify your crops. If you still need to order, I recommend: Sow True Seeds (local to Asheville!), High Mowing Seeds, and of course your local hardware stores and even Whole Foods often carries nice seeds. Just keep an eye out for organic, high quality, heirloom seeds and check the expiration dates.
- Make note of your Last Frost Date for your region. Then count backwards to figure out when to start your seeds. I usually split mine into three groups: 6-8 week seeds, 4-6 week seeds and direct sow seeds. Your seed packets will usually say when to start your seeds indoors. Make notes of these dates in your calendars so that you know what to start when.
- Gather your supplies. If you’re starting seeds, you’ll need a setup and space for grow lights and seed trays.
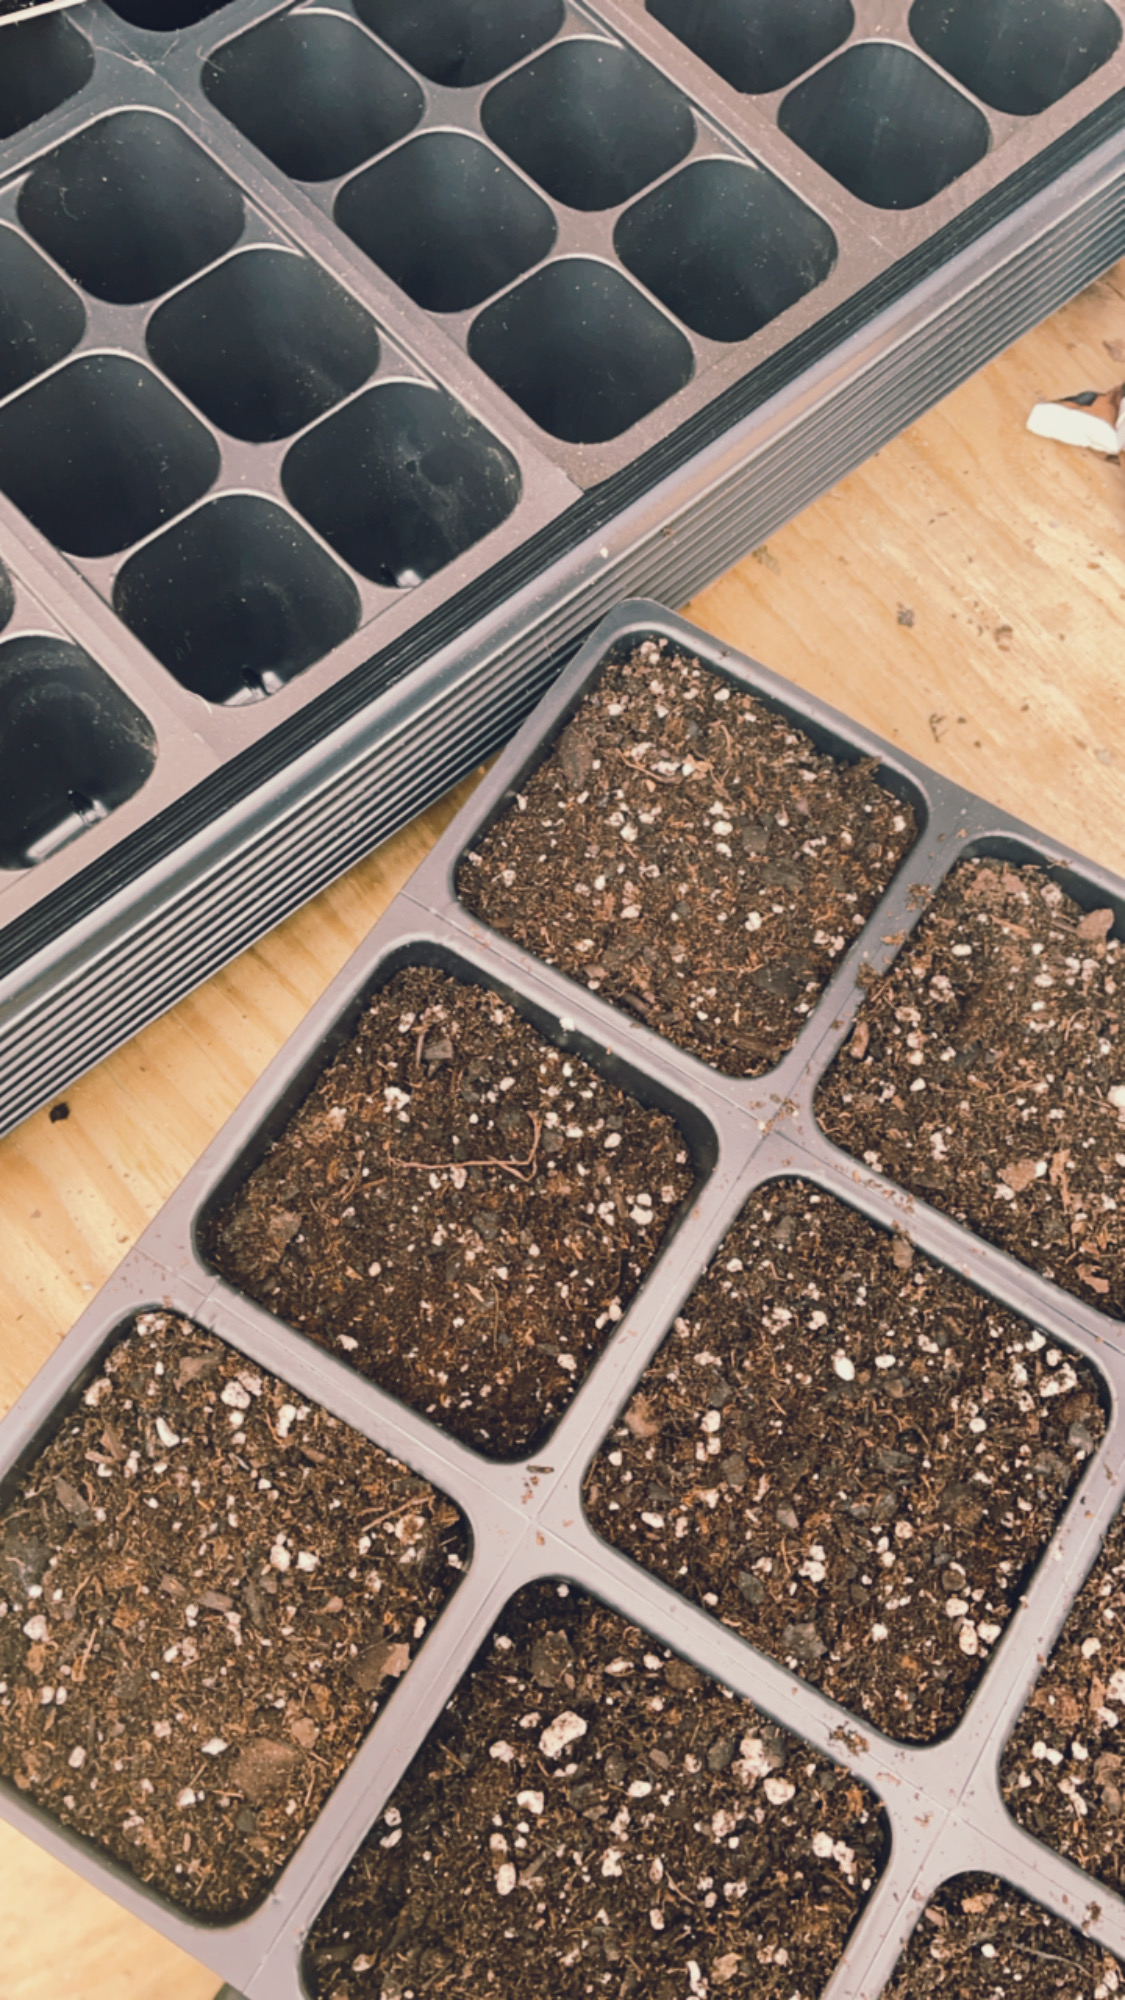
- Seed trays: I recommend seed starting trays if you’re planning on going that route. There are people who have had success in re-using egg cartons and even making seed bundles out of newspapers. I haven’t enjoyed much success with these in the past because they don’t hold up to regular watering and the aeration seems to be a problem. And I can’t afford to lose a bunch of seed starts! So I go with the 72-cell seed trays. If you have ones from the past- it’s great to reuse those! Just clean them out really well with some gentle soap and water and make sure they are dry and free from tears and holes.
- Space: maybe it’s a table in your living room or a sunroom, maybe it’s shelves in your basement. But you’ll need space that doesn’t freeze, has good air flow and a place for good light. I have metal shelves and attach the lamps to those on chains. There are commercially available all-in-one seed starting systems that you can purchase if you don’t want to set up your own.
- Light: Look for full spectrum lights labeled specifically for starting seeds. And you’ll want a way to move them up and down as your seedlings grow. You’ll start them very close to the soil to start, then as your seedlings grow you’ll move up the lights to stay just above the seedlings. If your light is too far away, your seedlings will spend all their energy reaching for the light and will end up too thin and leggy.
8. Finally you can fill your seed trays with a good seed starter soil, and then add your seeds! Now comes the fun part- watching the seeds sprout!
Can’t wait to see what you grow! Feel free to leave your questions here or
Follow us over on Instagram!
Happy Planning + Planting everyone!
