
Garlic is one of those herbs that is not only deliciously tasty, but highly nutritious and supportive to the body! There’s a long list of all the goodness garlic can bring you!
Garlic has been used to treat colds, flus, sore throats, and even with easing digestion. It’s wonderful for maintaining healthy cholesterol levels and for the circulatory system as well.
So if it’s so tasty, and so good for you- why not grow it yourself!?
How to choose your seed garlic:
So what is garlic seed anyways?
You won’t find garlic anywhere on the seed racks at the gardening store. Garlic “seeds” are actually just the individual cloves themselves! You can break apart a healthy, hearty organic bulb you find at the Farmer’s Market, or you can order seed garlic from a reputable grower. We have always used High Mowing Organic Seeds for our seed garlic. They have wonderful varieties available.
I don’t recommend using garlic from the grocery store, as you can’t know what variety it is, and often grocery store garlic is quite bland compared to the wide and various options you’ll find in a seed catalogue.
You’ll need to decide if you’d like to grow soft-neck or hardneck varieties. I’ve always preferred hardneck varieties as they grow a flowering stalk known as the “scape”- which is a whole separate harvest and makes a tasty early summer pesto! With softneck varieties, you can braid the stalks after harvesting which makes for some beautiful garlic storage.
You’ll also want to think about the flavor profile you’d like- smaller bulbed garlic can create bold spicy flavors, with larger bulges often producing a creamier texture and flavor. Some varieties also store longer and better than others. All things to consider when picking your varieties. Your seed catalogues or websites will offer you lots of details and even comparison charts!
How to plant:
Garlic needs well-drained fertile soil with a good PH, and full sun. Garlic can do well in raised beds and even some container gardens. Plant cloves with pointed ends up, 6 inches apart and 2 inches deep. Plant in the fall for summer harvest.
I suggest mapping out your garden throughout the year for a variety of reasons, but planning ahead as to where your garlic will go is important in my experience. Since it is such a long-season crop, and likely the longest crop you’ll grow, you’ll want dedicated space for the garlic to grow and develop that won’t impede on your spring garden plans, and also won’t get lost amongst your other fall crops.
I like to pick an area that meets all of the growing requirements, but then is also out of the way of my other gardening. Since this is a “set it and forget it-kind-of-crop” I tend to choose an area that is near the edge of my beds, or near a border, and I mark it off- with tape, flags or other markers.
This year, I’ve got the back ⅓ of one bed ready to be planted with garlic. Summer crops have long finished in this space, it’s behind some lower lying fall crops so it won’t miss any sunlight, and it’s had time to sit covered in compost in order to regenerate some nutrients before the garlic seeds go in.
This past year- I had the “genius” idea to plant garlic all around the perimeters of my raised beds. This was a mistake because 1) once the stalks began to grow in spring, sunlight was blocked from getting to my newest spring seedlings, 2) it was very hard to harvest the bulbs without disturbing my summer crops, and 3) it was difficult to adequately fertilize the garlic throughout the growing season. So don’t do what I did.
How to care for your Garlic:
You’ll want to mulch your garlic after planting, I usually just cover with straw for the winter.
Then in the spring, keep your garlic weeded and fertilized. I find they like a fertilizer high in nitrogen, especially if you see yellowing leaves.
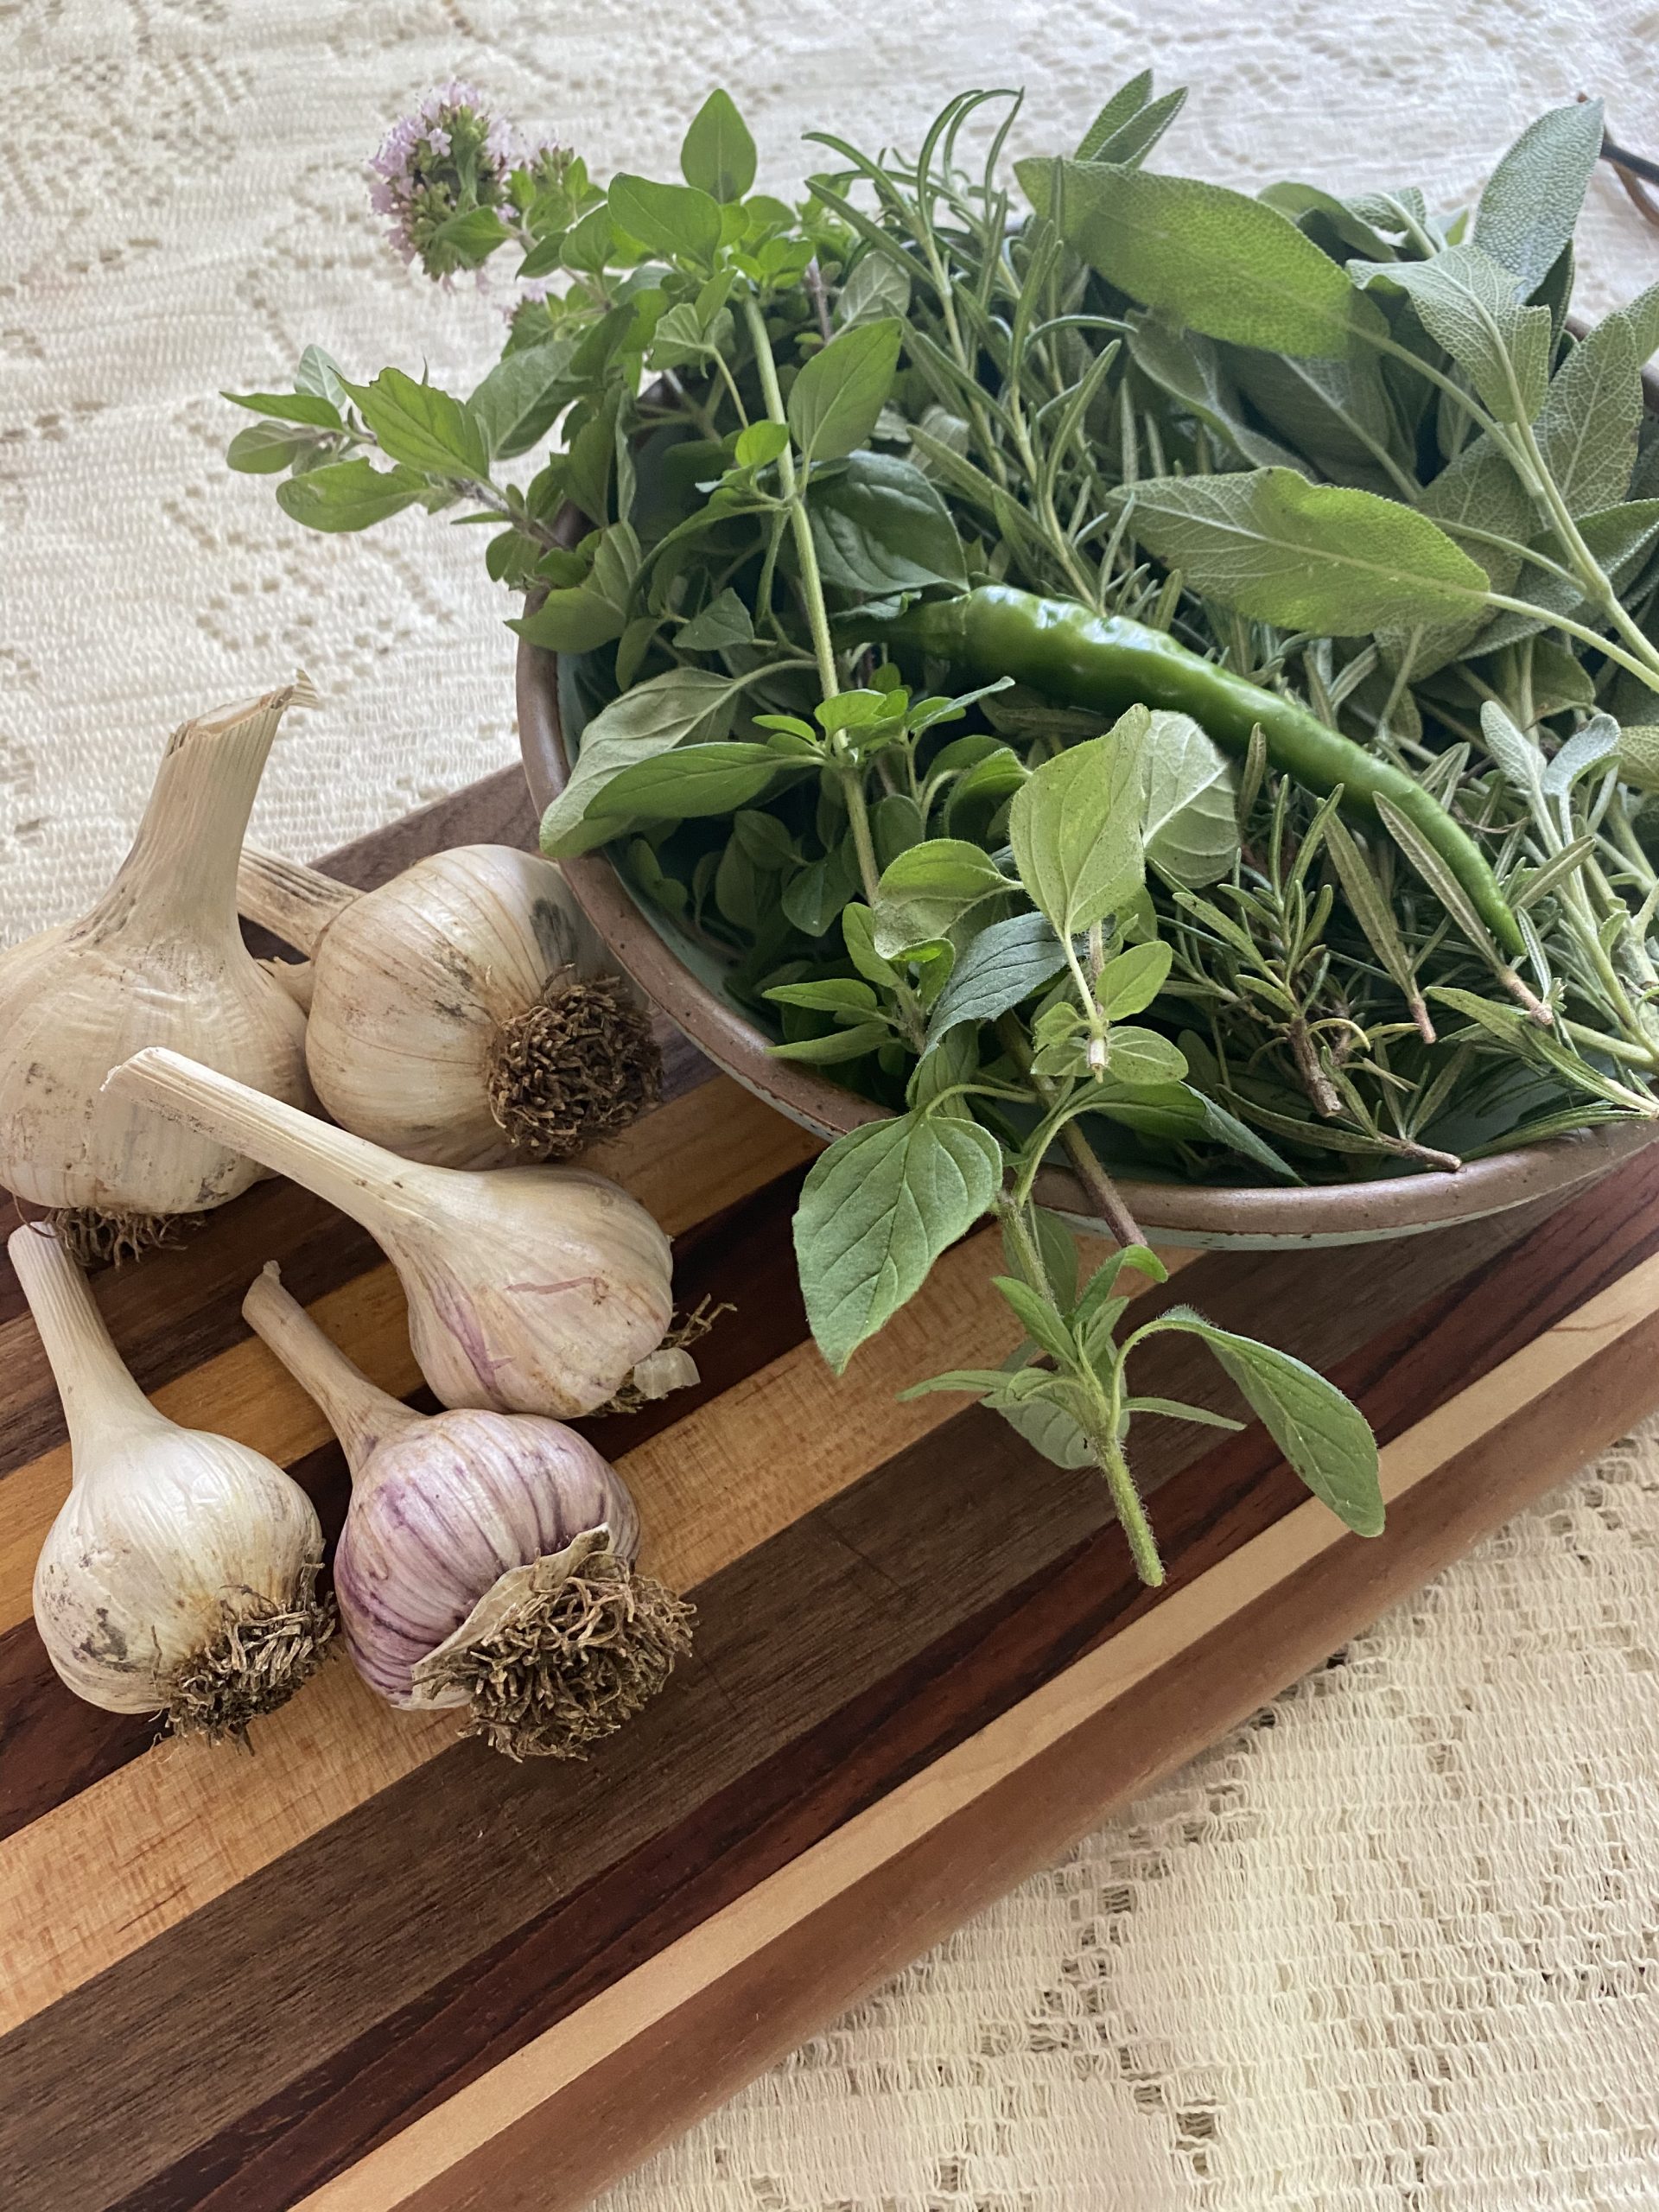
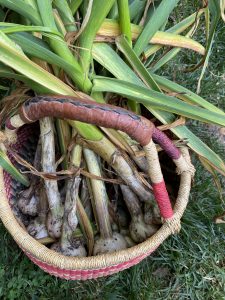
Some varieties- hardneck varieties- will grow flowering stalks known as scapes. These are edible and yummy! Be sure to cut these back to increase the size of the bulb growing. I use these to make a nice pesto, but you can also find lots of recipes online!
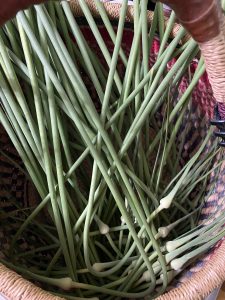
Once you harvest the scapes, you know you’ve got about one month until your garlic bulbs are ready! Yay!
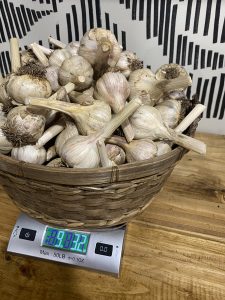
You’ll know your bulbs are ready to harvest after the leaves begin to brown and fall over. I wait until about a third of the leaves are browning.
Don’t wash your garlic immediately, it needs to cure so that it can sit in storage for you until you’re ready to eat it. Just brush off any excess dirt. For soft-neck varieties you can braid the stalks before hanging in storage.
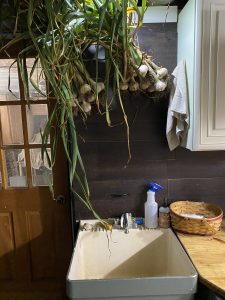
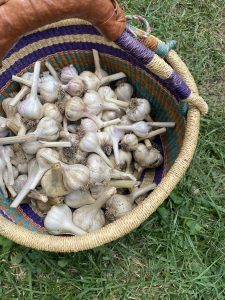
Since I usually grow hardneck varieties, I gather the garlic into bunches (about 8 stalks or so) and tie with some twine, then I hang these in my basement for about a month to dry out. Then I cut off the stalk to store in a basket for long term storage.
Don’t forget! When you harvest your garlic next summer- guess what- you’ll already have seed garlic for next year! Just set aside some of your biggest and best cloves for replanting in the fall!
I think you’ll really enjoy growing garlic! Let me know it goes!